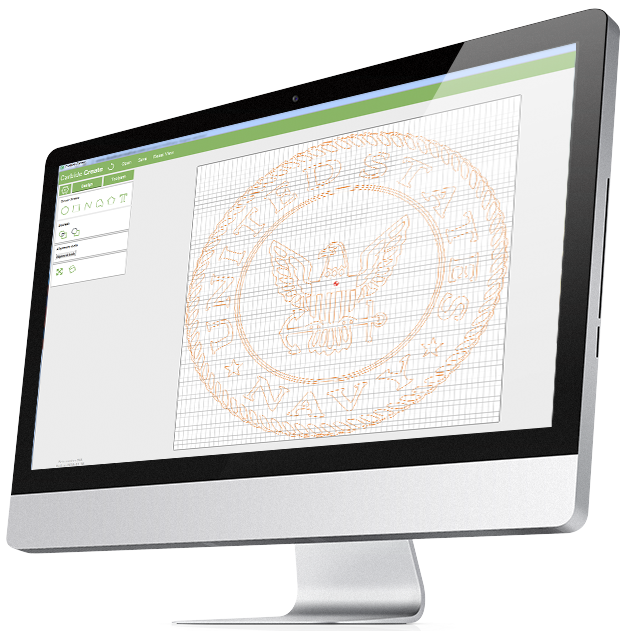
We wrote Carbide Create from scratch to give our customers the quickest path from idea to part.
Combine the power of 2D sketching and machining with 3D simulation to see your designs come to life on your CNC router!
Check out Carbide Create Pro if you need 3D design and machining or if you don't have a Carbide 3D machine.
The trend is toward . Newer plugins are using machine learning to memorize successful layouts for specific shapes (e.g., "This logo nests best at 15-degree rotation"). We are also seeing cloud-hybrid nesting, where the plugin sends your geometry to a server for super-fast processing and returns the result. Conclusion: Stop Wasting Material, Start Nesting If you are a sign maker, fabricator, or packaging designer using CorelDRAW, you cannot afford to ignore nesting automation. The manual method is obsolete.
are distinct from standalone nesting software because they operate inside the CorelDRAW environment. You never need to export your file to DXF or AI, upload it to a cloud service, or re-import the nested result. Everything happens live on your artboard. Why You Need a Nesting Plugin for CorelDRAW If you are still manually arranging parts, you are losing money. Here is the hard truth about manual vs. automated nesting: 1. Material Savings (5% – 40%) The average manual layout wastes between 10% and 20% of your sheet stock. A high-quality nesting plugin can reduce that waste to below 5%. If you spend $5,000 a year on materials, saving 15% puts an extra $750 directly into your pocket. 2. Time Efficiency A layout that takes a human 15 minutes to rough out takes a plugin 15 seconds. Over a week of production, that reclaims hours of designer time, allowing you to focus on creative work or job setup rather than Tetris. 3. Reduced Tool Wear (CNC/Laser) Advanced nesting plugins don't just save space; they optimize tool paths. By arranging parts intelligently, the plugin can reduce the distance the laser head or router bit travels between cuts, extending the life of your equipment. 4. Elimination of Human Error Have you ever accidentally placed two shapes overlapping? Have you ever forgotten to rotate a part that would have fit perfectly? Software doesn't have "tired eyes" at 4:00 PM on a Friday. Critical Features to Look for in a CorelDRAW Nesting Plugin Not all nesting plugins are created equal. When shopping for a solution, you need to look beyond the basic "arrange shapes" function. Here is your feature checklist: 1. True Shape vs. Bounding Box Nesting The cheapest plugins use "bounding box" nesting. They draw a rectangle around your irregular shape (like a star or a letter "R") and nest the rectangles. This creates massive gaps. You need True Shape (or "Polygon") nesting. The plugin should trace the actual contour of your vector and allow parts to interlock. 2. Rotation Increments Can the plugin rotate parts 0–360 degrees? Can it limit rotation to 90-degree increments for grain-sensitive materials (like wood or brushed metal)? The best plugins allow custom rotation steps. 3. Part and Sheet Separation You should be able to define multiple sheet sizes and "part libraries." For example, you might have 50 red circles and 30 blue squares. The plugin should nest them separately or together as defined by your rules. 4. Kerf & Spacing Compensation In laser cutting and CNC routing, the tool removes material (the kerf). If you nest shapes with zero gap, they will fuse together. A professional plugin allows you to set a "common cut" line or a minimum spacing distance between parts. 5. Grain and Texture Alignment If you are printing on textured vinyl or cutting wood with a visible grain, you cannot rotate parts arbitrarily. The plugin must support a "grain-aware" mode where rotation is locked to 0 or 180 degrees only. 6. Remnant Management Does the plugin remember the leftover scrap from a sheet? For example, after cutting a 4x8 foot sheet, you might have a 2x4 foot remnant. The plugin should track that remnant as a "new sheet" for future jobs. Top CorelDRAW Nesting Plugins on the Market While CorelDRAW itself has a basic "Align and Distribute" function, it does not have native nesting. Here are the leading third-party solutions ranked by user satisfaction: 1. ECut (by Cimpress/Astract) Best for: Vinyl cutting and print-and-cut workflows. ECut is perhaps the most famous CorelDRAW plugin. While known for contour cutting, its "Nesting" module is powerful. It offers true shape nesting, rotation, and gutter spacing. It integrates perfectly with Graphtec, Roland, and Mimaki plotters. 2. DP SmartNest (by Design-Pro Tools) Best for: CNC and Industrial manufacturing. This is a heavy-duty engineering tool disguised as a CorelDRAW plugin. DP SmartNest supports nesting thousands of parts across multiple sheets, true-shape interlocking, grain control, and complex "sheet remnant" tracking. It is expensive, but for high-volume shops, it pays for itself in weeks. 3. SignTools (by SignTools) Best for: General sign making. SignTools is a suite of utilities, and its nesting function is highly regarded for single-sheet jobs. It is fast, supports rotation, and handles complex bezier curves well. It is a mid-range option perfect for small to medium sign shops. 4. HotDoor Nest Best for: Laser engravers. HotDoor has a very lightweight, fast nesting engine. It lacks some industrial features (like remnant tracking) but excels at quickly arranging dozens of small parts for laser work. Step-by-Step: How to Use a CorelDRAW Nesting Plugin (General Workflow) Though every plugin has a unique UI, the workflow is generally identical. coreldraw nesting plugin
Investing in a like ECut, DP SmartNest, or SignTools is not an expense; it is a capital investment with a typical ROI of less than 30 days. You will save material, save time, reduce wear on your machinery, and eliminate the headache of "fitting it all on one sheet." The trend is toward
In the world of digital design and manufacturing, material waste is the silent killer of profit margins. Whether you are cutting vinyl decals, routing acrylic signs, engraving wood panels, or die-cutting packaging, how you arrange your shapes on the sheet matters. Conclusion: Stop Wasting Material, Start Nesting If you
In the plugin docker, enter your sheet dimensions (e.g., ( 48" \times 96" )). Set your material thickness if required for kerf, and define the minimum distance between parts (e.g., ( 0.125" ) for laser).
Carbide Create includes all the design tools to start your design from a blank page. If you're familiar with programs like Adobe Illustrator or Corel Draw, you'll feel right at home in Carbide Create.
If you already have a design in another program, you can import it and start from there.
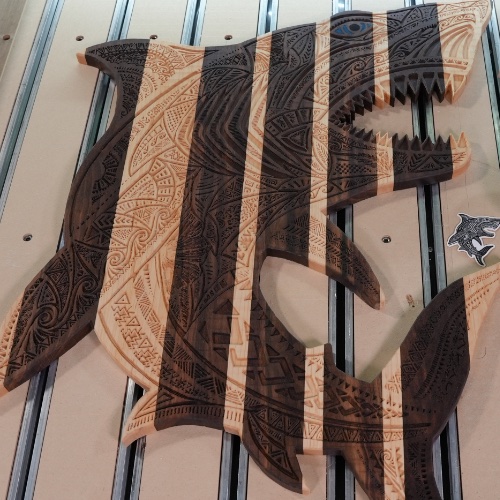
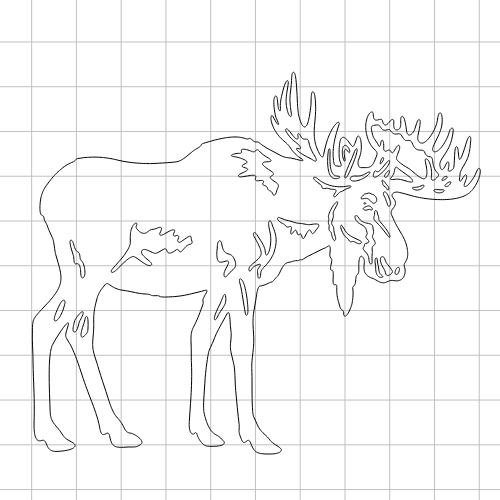
No matter how you start, you'll be able to create designs that are as detailed as you want them to be.
Click here to see how much detail Carbide Create can handle.
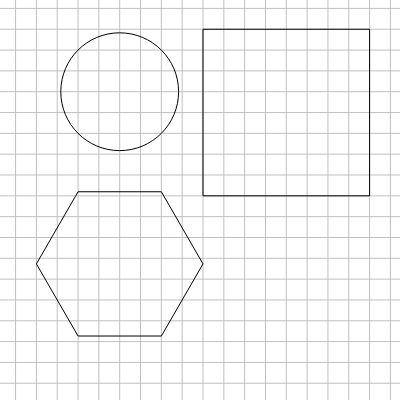
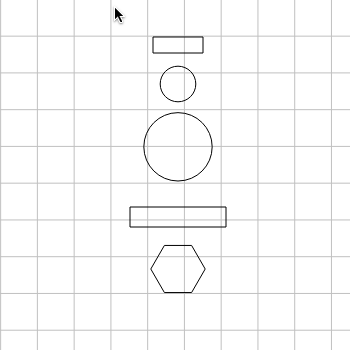
Carbide Create lets you quickly create basic shapes like squares, circles, polygons, and polylines.
For new users, this is a fast way to experiment with new ideas and techniques.
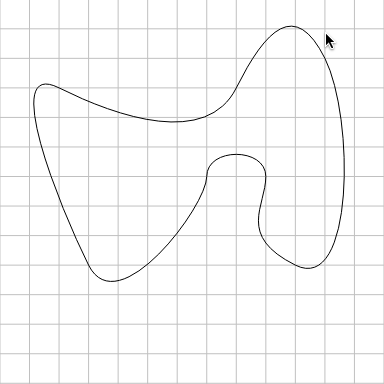
Create smooth, organic shapes with bezier spline tools.
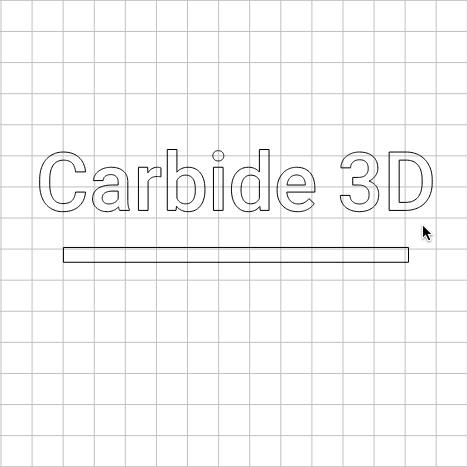
Create text vectors from any font on your computer.
Text can be created in a straight line, or along an arc.
Carbide Create lets you load a background image so you have a reference for your design.
Whether you're looking to just make sure the parts are in proportion or you need to carefully trace an image, having a reference image will speed up your design cycle.

If you need to make parts that fit perfectly, the alignment tools in Carbide Create will help you put all the sections of the design in the correct locations.
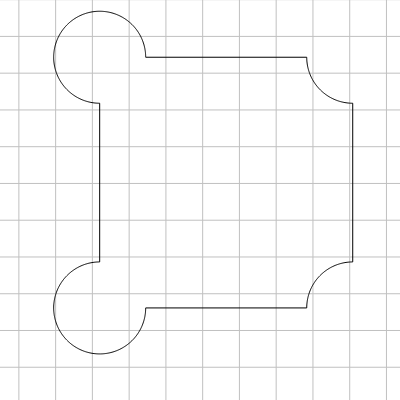
Booleans are an incredibly powerful way to combine simple shapes into more complex ones, so you don't have to create them from scratch.
Carbide Create supports all of the common boolean modes, including weld, unions, intersections, and subtractions.
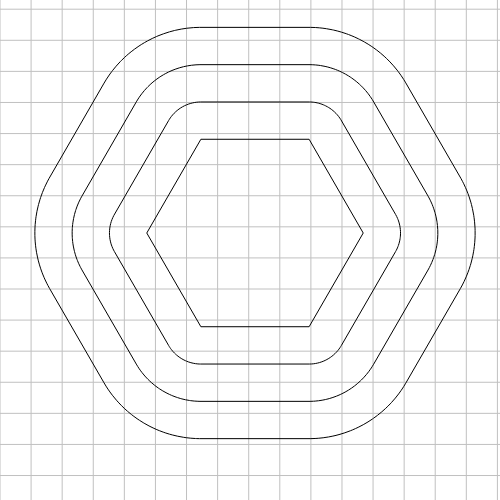
Vector offsets allow you to select a vector or shape and create a copy that's offset by some distance from the original one. You can offset to the inside or outside.
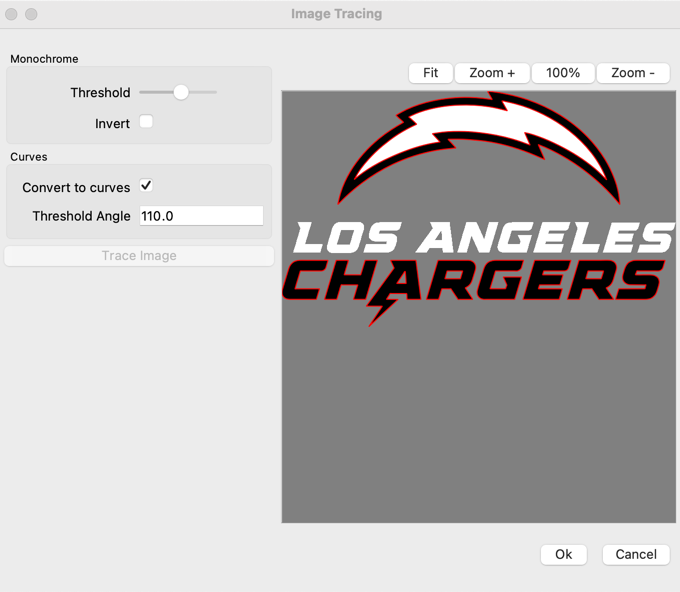
If you have artwork in an image format, Carbide Create can trace that image and convert it to vectors that are ready to cut.
This tracing function was designed from the gound up to work with CNC routers, so it creates simple, clean vectors that are easy to machine, not connected shapes that require a lot of editing.
If you need to start your design from another program or file, you can load SVG and DXF files directly into Carbide Create.
If your design is already done and you just need to create toolpaths, that's no problem- load your file and start creating toolpaths.
Carbide Create includes our full bundle of Design Elements for use in your projects.
Don't waste time hunting the Internet for the perfect SVG file, they're right here in Carbide Create.

Once you have your design done, you'll need to create toolpaths so your CNC router can cut out the design.
Carbide Create has all the common toolpath options to cut your project, from simple 2D cutouts to detailed multi-tool designs.
If you'll looking for more advanced 3D projects, we've got that covered in Carbide Create Pro.
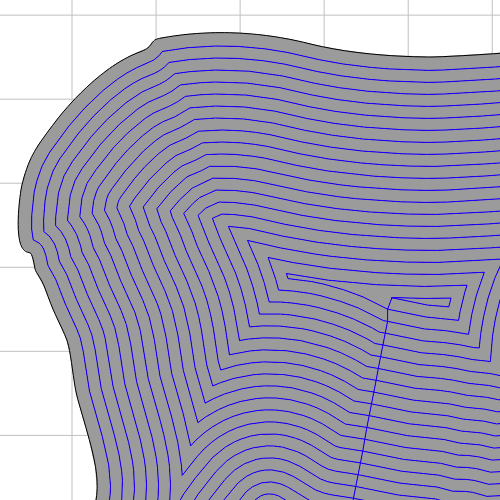
Pockets and contours are the basic operations in any machining job and they're included in Carbide Create.
Pocket toolpaths clear the area inside of a vector, while contours cut along the inside or outside of a vector. These operations are the basis for most machining jobs.
V-carving is a quick way to create designs with a lot of depth and detail, while giving your projects a 3D-look.
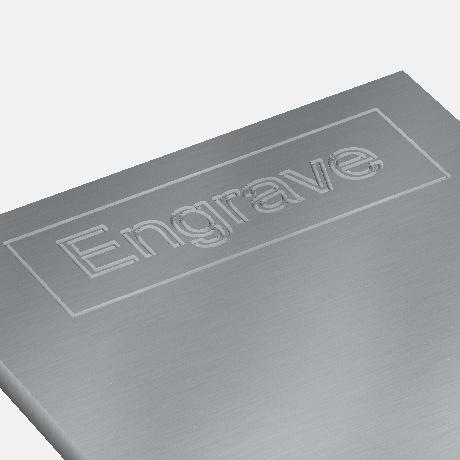
Engrave text, or any other vectors, directly into your project.
Additional engraving options are available in Carbide Create Pro.
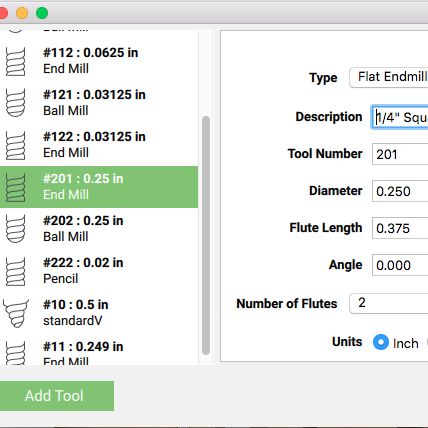
Keep a library of all of your favorite cutting tools ready to go.
All of the tools in the Carbide 3D tooling store are included in the tool library, so you can quickly select the right tool for the job.
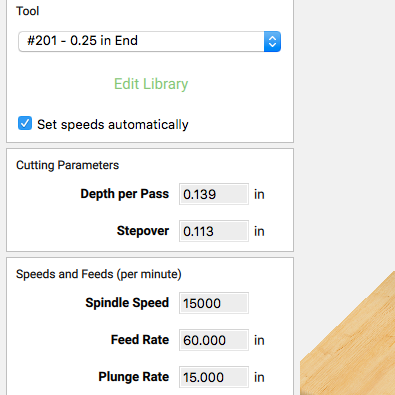
Carbide Create includes speeds and feeds for many common cutters and materials, so you don't have to figure them out on your own.
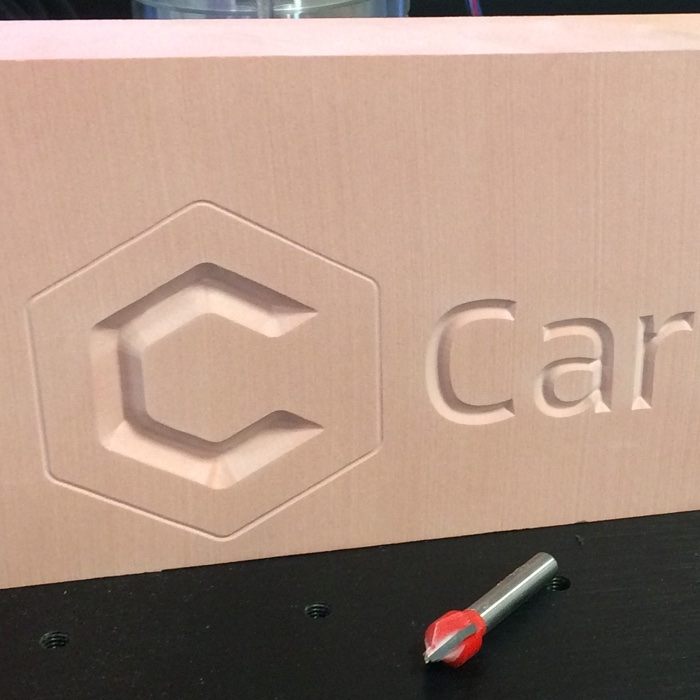
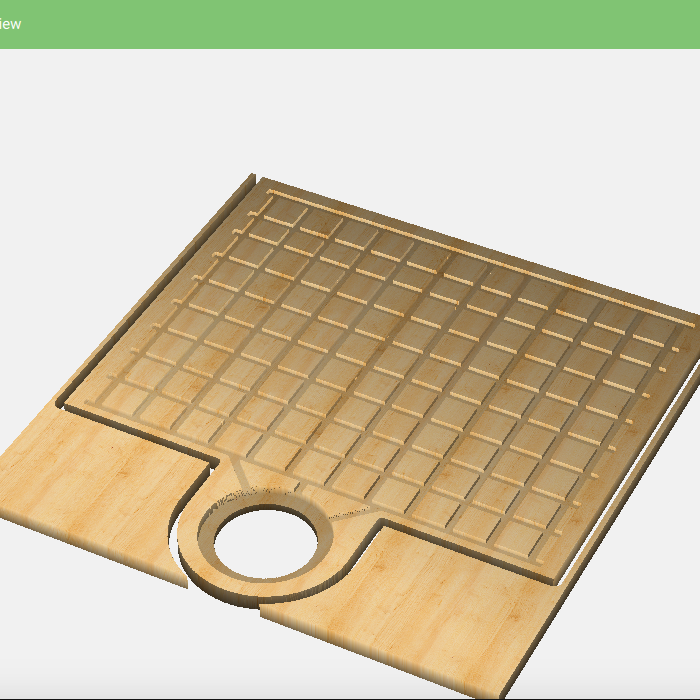
See what you're going to get before you even walk up to your machine, saving you time and material.
Carbide Create is a great way to go for 2D and 2.5D CAD/CAM. If you need 3D toolpaths then we've got two options for you.
Carbide Create is included with all Carbide 3D machines.
To use Carbide Create with a non-Carbide 3D machine, you'll need a license for Carbide Create Pro.
Carbide Create runs only on Mac and Windows computers.
No, Carbide Create runs locally on your machine, it's not a cloud application.
We'll keep you up to date on new things in the world of Carbide 3D, and CNC in general.